Flower boxes do more than just add color. They reclaim space. A cramped balcony suddenly feels like a private garden. A sterile terrace gets a pulse. Whether you are working with a tiny Juliet balcony or a sprawling rooftop, the right planter transforms concrete into habitat.
But before you buy a single petunia, pause.
Most failed window boxes share one trait: poor preparation. Gardeners rush the planting. They ignore drainage. They pick the wrong soil. The result? Root rot. Wilting plants. Money down the drain.
Let’s fix that. Here are five practical steps to ensure your floral container thrives rather than survives.
1. Choose the Right Material for Your Climate
Not all planters are created equal. The material dictates how your roots breathe and how much water they hold.
- Wood: Beautiful, but rot-prone. Look for cedar or redwood. They resist decay better than pine. Line them with landscape fabric to prolong life.
- Terracotta: Porous. Breathable. Great for herbs. Terrible for drought-tolerant succulents. You will water these constantly. They also freeze in winter. If you live in a cold zone, leave them out or bring them in.
- Fiberglass/Resin: Lightweight. Easy to move. Retains moisture well. Look for high-quality UV-resistant resin to prevent cracking in direct sun.
- Metal: Heats up fast. Can bake roots in summer. Line metal boxes with plastic or thick fabric insulation.
The takeaway: Match the vessel to your location. Heavy stone stays put in wind. Light plastic needs weighting with rocks if you live on a high floor.
2. Drill Drainage Holes — No Exceptions
Waterlogged soil is the #1 killer of container plants. Roots need oxygen. Without drainage, they suffocate.
If you buy a pre-made box without holes, drill them. Use a masonry bit for ceramic. A standard twist bit for wood or plastic.
How many holes?
At least four to six, depending on size. Spread them out. Don’t cluster them in the center.
The safety check:
Never skip this step. Even “self-watering” designs require overflow mechanisms. If water sits at the bottom, mold grows. Mold kills.
3. Layer for Longevity: The Bottom-Up Approach
Direct soil contact with drainage holes leads to clogging. Soil washes out. Drainage fails.
Create a barrier. This is non-negotiable for long-term health.
- The Mesh Layer: Place a layer of hardware cloth or plastic nursery mesh over the drainage holes. This keeps soil in while allowing water out.
- The Drainage Layer: Add 1-2 inches of lightweight material. Broken terracotta pieces, perlite, or even plastic bottles (cut in half) work. Avoid large rocks; they take up too much volume and reduce root space.
- The Barrier: Lay down a permeable landscape fabric or coffee filter over the drainage layer. This prevents fine soil particles from washing down and clogging the mesh.
This structure ensures water moves freely through the root zone. It also saves money. Soil is heavy.
Matching Plants to Your Microclimate
You can’t just throw seeds in a box and hope for the best. Success with window boxes hinges on choosing plants suited to your local environment. Every flower has specific needs. Ignoring them is a fast track to dead foliage.
Start by auditing your space. Is that balcony a wind tunnel? Does the wall face north, casting long, cool shadows? Note the average summer heat and winter chill. These factors dictate survival.
Head to a nursery. Talk to the staff. They see this daily. Ask for varieties that thrive where you live. Once you pick your favorites, group them by habit. Cluster thirsty plants together. Keep drought-tolerant types in their own zone. Mismatched watering schedules kill gardens.
Preparing Planters for Drainage and Growth
Now, tackle the containers. Shallow, wide boxes work best. They give roots room to spread without drowning. Material is secondary. Wood looks warm. Metal is durable. Plastic is lightweight. Pick what fits your budget and aesthetic.
Drainage is non-negotiable. Standing water rots roots. Mold follows. It’s a simple biological fact.
Check the bottom of your planter. Does it have holes? If not, drill them. You need exit routes for excess water.
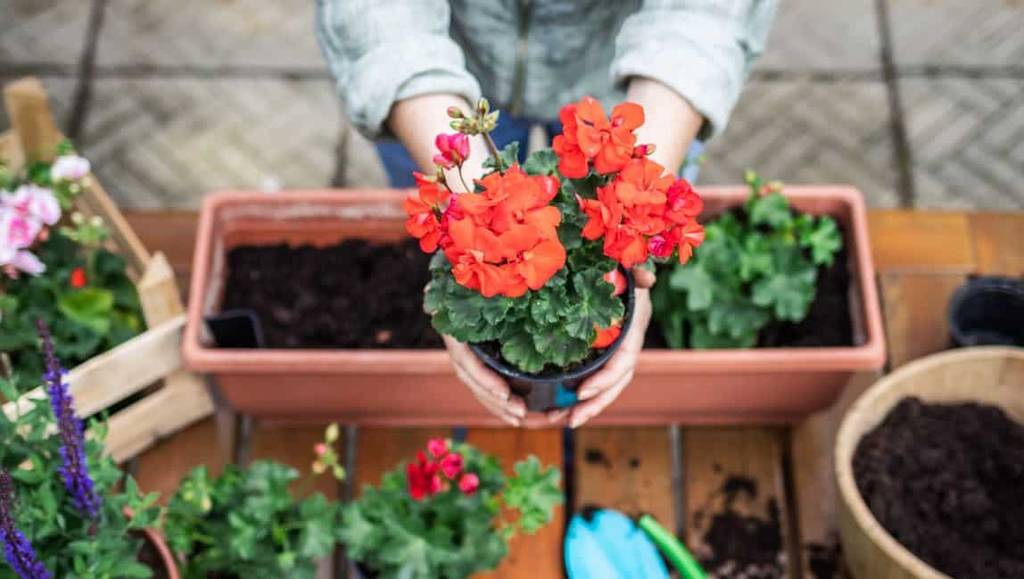
Next, add a drainage layer. Gravel works. Clay balls are lighter and better for root penetration. Spread them out evenly. This prevents soil from washing into the holes.
Cover the gravel with potting mix. Do not use garden soil. It’s too heavy and compacts easily. Use a high-quality potting blend. Ensure it matches the needs of your chosen plants. Acid-loving rhododendrons need different soil than succulents.
Creative Layout and Design
This is where the project shifts from chores to art. You have healthy plants. Good soil. Proper drainage. Now, arrange them.
Think in layers. Height adds visual interest. Place taller plants at the back or center. Let cascading varieties spill over the edges. This creates a full, lush look.
Consider texture. Mix fine leaves with broad ones. Contrast colors deliberately. Bold reds pop against soft greens. Purple foliage adds depth to yellow blooms.
Don’t fear empty space at planting time. Plants grow. They fill gaps. Give them room to breathe. Overcrowding leads to disease and poor air circulation.
Step back often. Look at the arrangement from different angles. Adjust as needed. There’s no single right way. Experiment. Break rules if it looks better.
The result should feel intentional. Not random. A curated display that reflects your style.
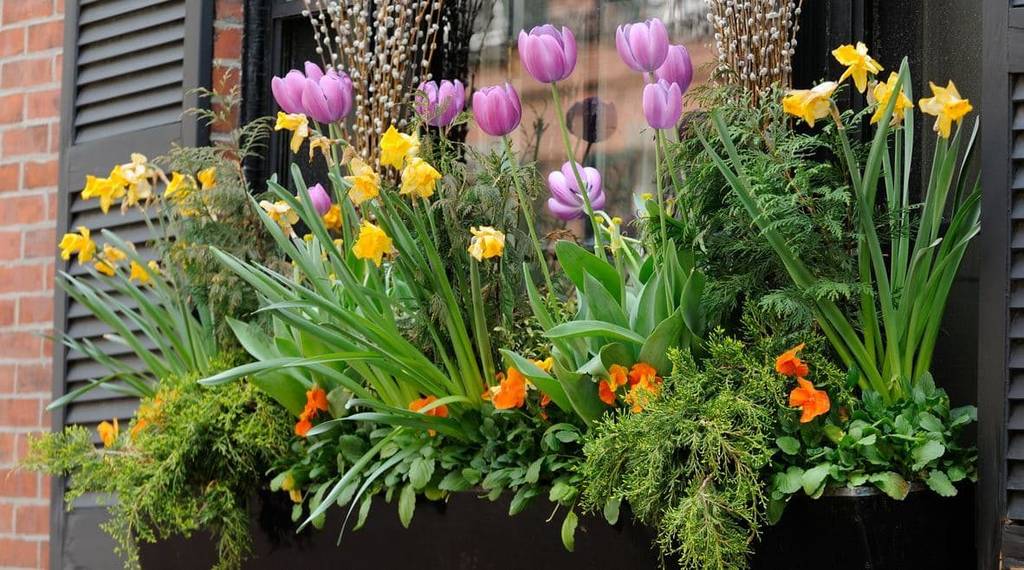

Planting is where the design actually takes shape. You are composing with balance, varying forms, and managing volumes. Place the smallest plants in the center. Move the taller varieties to the back. This creates depth.
Diversify the foliage. Go from dense leaves to airy textures. Harmonize the upcoming flower colors. It is your chance to let your imagination run wild. Mixing shapes and textures yields personalized combinations. Want originality? Try aromatic herbs or miniature vegetables. They fit the scale of a container and serve a purpose.
Watering Routines and Soil Quality
Success here depends on watering at the right time. You also need a quality substrate. Add compost to the potting soil for nutrition. Supplement with nutrients during watering sessions if needed.
When do you water? Touch the earth. Is it damp? Wait. Is it dry and cracked? Stick your finger into the substrate. If it feels dry deeper down, give the plants water. This simple check prevents overwatering.
Boosting Urban Biodiversity
Protect the environment by planting vegetation that supports biodiversity. Choose nectar-rich flowers. Lavender is a solid option. It attracts pollinating insects. Their habitats are under threat.
Combine utility with aesthetics. Start an urban vegetable garden. Grow cherry tomatoes. Add salad greens. Harvest unique crops on your balcony. Search online for specifics. Ask at a local nursery or garden center for advice.
Another way to support urban wildlife is a vertical garden. Consider a green roof or trellis. Use climbing plants. Hang planters on terrace or balcony walls. This maximizes vertical space. It offers extra habitat for insects.