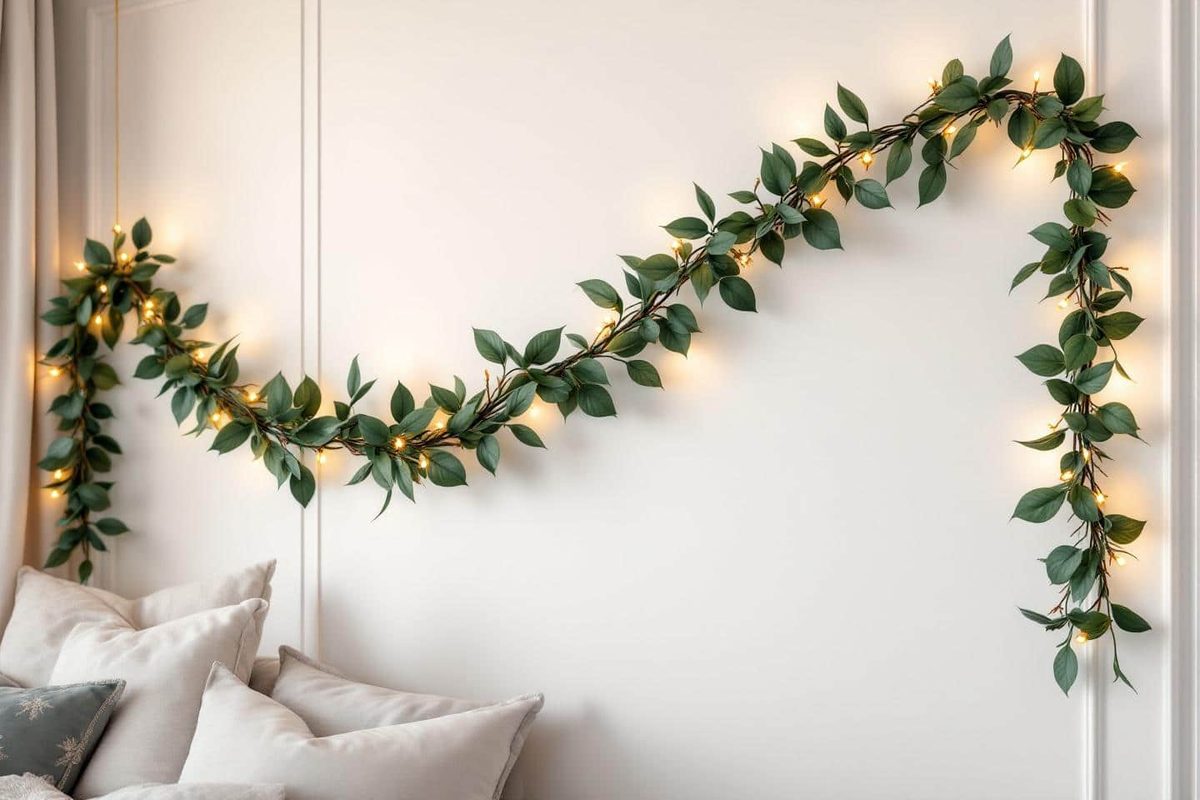
Every November, we get that sudden, desperate need for warmth. Light. Magic. We want that fairy-tale glow before the holidays hit, or just something to keep the long winter evenings from feeling quite so gray. So, we grab the string lights.
But then comes the panic. How do we hang them?
If you use nails, you get holes. If you use thumbtacks, you risk peeling the paint. If you use cheap sticky tack, you leave a gooey residue that looks like it was left by a toddler. None of this works for delicate plaster, old woodwork, or rental walls where you can’t leave a trace.
There is a better way. A method used by the pros. The same method used to dress up the ballrooms of the world’s most expensive palaces. It keeps the lights up all winter and leaves your walls pristine when it’s time to take them down.
Why traditional hanging methods fail
Think about the last time you hung a garland. Did you use command strips? Did you use wire and hooks? Did you try to tape it up with painter’s tape and hope for the best?
Traditional methods are a gamble. Nails destroy drywall. Thumbtacks leave tiny scars. Even “removable” adhesives can fail if the surface isn’t prepped correctly or if the weight distribution is off. You end up with sagging lights, exposed wires, and a wall that looks like it went through a war zone.
This isn’t just about aesthetics. It’s about preservation. If you live in a Haussmann apartment or have original moldings, you don’t have the luxury of screwing things into the plaster. You need a solution that grips hard but releases clean.
The professional secret: Repositionable transparent hooks
The secret isn’t a new technology. It’s just better application. The core of the luxury decorator’s kit is simple: repositionable transparent adhesive hooks.
Not the cheap, flimsy ones from the dollar store. We’re talking high-end brands like Command™ or equivalent premium alternatives. These hooks are designed for smooth surfaces—painted drywall, tile, varnished wood. They are nearly invisible. They hold weight. And most importantly, they come off without damaging the paint.
For a light string of fairy lights? These hooks are overkill in the best possible way. They allow for perfect alignment. They ensure the lights hang straight. And they make removal a non-event.
What you actually need
You don’t need a toolbox. You need a few specific items. Here is the list:
- Repositionable adhesive hooks: Look for clear plastic hooks. Check the weight rating. Most hold up to 2kg or more, which is plenty for standard LED garlands.
- Your lights: LED strings are lighter and cooler than old incandescent bulbs. Less weight means less stress on the adhesive.
- Decorative masking tape: Gold or silver masking tape. Not duct tape. Not scotch tape. Masking tape has a matte finish that blends in and is easier to remove cleanly.
- Cleaning supplies: A soft cloth and rubbing alcohol (isopropyl alcohol).
You can find all of this at major hardware stores, big-box retailers, or even decor shops like Zara Home or Sostrene Grene during the holiday rush. Don’t buy the first hook you see. Read the label.
Step-by-step: Preparing the wall
This is where most people fail. They skip prep. They stick the hook on a dusty wall and wonder why it falls down two days later.
Adhesive needs a bond. A clean surface is non-negotiable.
- Dust off the wall. Use a dry cloth to wipe away any loose particles.
- Degrease. Take a clean cloth and apply a small amount of rubbing alcohol. Wipe the area where the hook will go. This removes invisible oils from skin contact, cleaning sprays, or cooking grease.
- Let it dry. Wait for the alcohol to evaporate completely. This might take 30 seconds, but don’t rush it.
If the wall is greasy or dusty, the adhesive will slide. If it’s clean and dry, it will lock in.
Installing the lights safely
Now for the actual hanging. Do not rush this.
1. Dry fit first.
Hold the lights up against the wall. Visualize the shape. Do you want a straight line? A gentle wave? A zigzag? Mark the spots with a pencil if you’re unsure, or just eyeball it.
2. Apply the first hook.
Peel the backing off one adhesive hook. Press it firmly against the wall. Hold it there for 30 seconds. This pressure activates the adhesive.
3. Place the second hook.
Do the same at the other end. Pull the lights taut between these two points. This establishes your baseline. If you don’t pull them taut at this stage, the lights will sag later.
4. Add intermediate supports.
For strings longer than a few feet, you need more support. Place hooks every 40 to 50 centimeters (about 16 to 20 inches). This prevents the “belly” from forming in the middle of your garland.
5. Wait.
This is the hardest part. You have to wait. Most manufacturers recommend waiting 1 hour before hanging any weight. Some high-strength adhesives recommend 24 hours. Check the package. If you hang the lights immediately, the weight can shear the bond before it sets. Give it time.
Finishing touches for a luxury look
Once the lights are up, you have a problem. The wires. The plastic. It looks messy.
Luxury decor isn’t just about the lights. It’s about hiding the mechanics.
Hide the cables.
If you are hanging lights near a curtain rod, tuck the power cord behind the rod. If you are near a molding, use the gap between the molding and the wall to hide the wire. Discretion is key.
Create natural waves.
Don’t pull the lights into a rigid straight line. Let them drape naturally. Create soft loops. This makes the light look airy and intentional, like a chandelier made of light.
Camouflage the fixings.
If a hook is slightly visible, cover it. Use a piece of gold or silver masking tape. Wrap it around the hook or the wire where it meets the hook. It looks like a deliberate design choice. It breaks up the visual clutter. It makes the installation look curated, not cobbled together.
This method works because it respects the wall and the wire. It’s reversible. It’s clean. And it turns a messy pile of plastic and wire into something that looks like it was installed by a professional.
But hanging the lights is only half the battle. What happens when the holidays end? How do you remove them without ripping the paint
You don’t need a drill to make your walls shine. In fact, forking over cash for heavy-duty anchors is often overkill if you just want to hang lights. The trick lies in switching your mindset from “construction” to “display.” We are talking about repositionable hooks. These aren’t just for party planners. They are the unsung heroes of the modern renter’s toolkit.
Alternatives for Every Decor Style
Stop thinking of hooks as mere utilitarian bits of plastic. Think of them as invisible scaffolding. You can hang more than just string lights. Try lightweight frames. Small botanical prints fit well here. Even delicate eucalyptus wreaths stay put without ruining drywall. If you want that winter vibe, look for natural materials. Wood driftwood. Felted wool. Rattan. These textures add warmth. They also hold their own weight easily. No extra support needed.
The goal is to preserve the wall surface while keeping the aesthetic light and airy.
Extending Ornament Lifespan
Seasonal decor changes. Fast. Winter lights go up. Spring flowers replace them. With repositionable hooks, you swap the item but leave the hardware in place. This saves time. It also protects your paint. Modern hooks handle temperature swings. They resist humidity. Heating systems dry out the air in winter. This can weaken traditional adhesives. High-quality repositionable options stay sticky when it counts. You get multiple uses out of a single purchase. No residue left behind. No sticky mess. Just clean walls and fresh decor.
Mistakes to Avoid for Flawless Walls
Even the best tools fail if used poorly. Don’t skip the basics.
- Check the surface condition. Never apply a hook to a damp wall. Fresh paint needs curing time. Usually, wait at least two weeks before sticking anything to it.
- Know the weight limits. A massive chandelier won’t work. But a light garland? Yes. Check the package. If the lights are too heavy, the hook will fail. And so will your wall.
- Remove with care. Do not yank. Pulling hard rips the paint off. Follow the instructions. Usually, this means pulling the tab slowly downward. Give it a minute to release. Then slide it off.
Respect these simple rules. Your walls stay immaculate. Season after season.
Getting the magic of holiday lighting down shouldn’t require a contractor. You can borrow tricks from luxury hotels. Transform your room into a cozy cocoon. Do it without compromising quality. The holidays are about atmosphere. Create that warm, fairy-tale feel. It crosses the whole winter. And your landlord will thank you.