The air is bitter. Christmas decorations are already hanging on the streets and every evening the familiar cold seems to creep into your living room. Who hasn’t felt that sudden jolt when a draft creeps under the door? With energy costs rising, it’s not just about comfort but also about common sense if you want to prevent cold air from entering your home. And there is a solution that doesn’t require hiring a professional or spending a fortune. You can install the draft stopper yourself. It’s fast. It’s cheap. It works.
Why drafts are sabotaging your winter comfort
In many houses, even newer ones, small gaps are enough for frost to penetrate. Drafts are more than just a nuisance. That’s wasted heat. It creates a constant chill that spreads to every room, making you turn up the thermostat and strain your wallet.
Identify the invisible enemy
Air loves to hide. It slides under doors, squeezes through window corners and finds its way into poorly sealed sockets. You don’t need fancy equipment to find it. Take a candle or a thin strip of tissue paper. Keep it near suspicious areas. If it flickers or dances, you’ve found a leak. This simple test is brutally powerful.
The bottom of the door is a weak point
Regardless of whether it’s a front door or a living room door, the bottom edge is usually a troublemaker. A large amount of ice-cold air gets there through a small gap. During the deep cold of December, this space under the door becomes a winter highway. It ruins both cozy dinners and movie nights.
A quick guide to preventing the cold
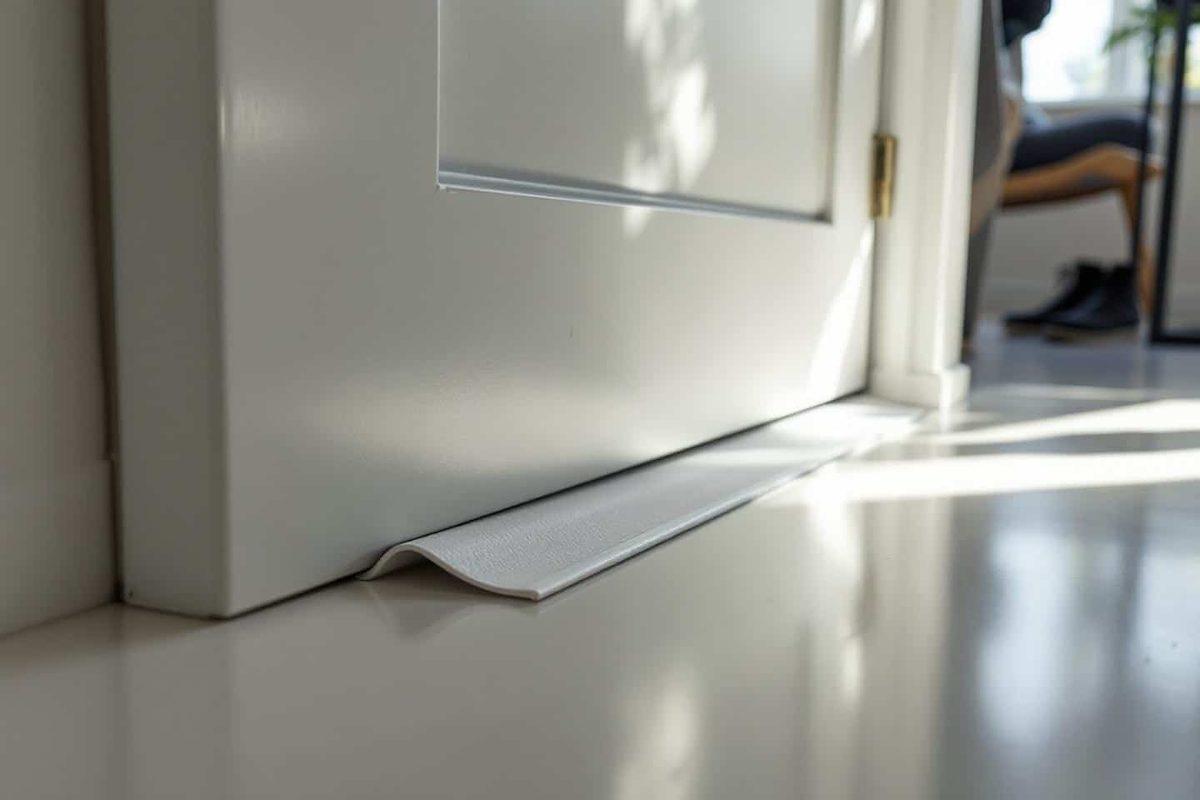
This does not require carpentry skills. Installing a bottom seal is a simple project. The ingredients are simple: foam, rubber and tape.
Choosing the right material: foam vs. rubber
You won’t find this complicated at a hardware store. There are two main types of door sweeps or seals:
- Self-adhesive foam strips: These are ideal for small gaps. They are incredibly easy to install.
- Rubber Seals: These are more durable. They are more suitable for high-traffic areas or front doors with a lot of traffic.
Thickness and width vary depending on the model. Choosing the right product is half the battle.
Removing the old seal
Do not place new tape over old, crumbling adhesive. It doesn’t stick. If it has an old gasket, tear it off. Use a knife, a flat-head screwdriver, or simply your fingers. Carefully lift up the old glue. This step is often skipped, but it is necessary. A clean surface ensures that the new seal will last a long time.
Surface preparation
Cleanliness is important. Wipe the area where the sealant will be applied. A cloth moistened with alcohol or white vinegar works perfectly. The surface must be dry, smooth and dust-free. This guarantees the maximum adhesion. It also keeps your home clean.
Applying the seal in a few minutes
Now for the easy part. Measure the width of the door. Cut the seal to the appropriate size. Remove the protective film. Press the seal firmly into the inside face of the door bottom, right where it meets the floor. Work continuously to ensure an airtight barrier. No power tools. No messy glue. A simple and effective solution.
Small details that make a big difference
Precision matters. A few small adjustments can make a good job perfect.
Tips for flawless results
Temperature plays a part. Adhesives stick better at room temperature. If the door is ice cold, the connection may fail. Press the tape inch by inch for a few seconds. This ensures its durability. For a professional look, cut the ends of the gasket at a slight angle. In this way, the seal adapts better to the edge of the door.
Find the right fit
A common mistake is choosing the wrong size. If the gasket is too short, air will still get in. If it is too thick, the door will not close properly. Measure accurately. Buy a seal that fits the width of your door. Bonus tip: Look for rolls with sealing material. You can cut them to exactly the length you need, reducing waste and ensuring a perfect fit.
Instant win for a five-minute solution
The difference is noticeable. You install the seal and the room maintains its heat in minutes. External sound is reduced. Your energy bill will ultimately reflect the change. And all this without using a drill or spirit level. It is simply fast, quiet and efficient.
What changes in the house
The new door sweep stops random drafts that spoil cozy evenings. You no longer need to wear extra socks in the living room just to feel comfortable when opening Christmas presents. The air feels softer. The temperature remains constant. You enjoy the winter nights instead of enduring them.
Key benefits and next steps
In addition to keeping the heat in, the seal also prevents dust. It reduces noise penetration. Visually, it is almost invisible. If you want to go further, seal all your joinery. Doors. Windows. Hatches. Every opening is important when the frost hits hard. Comfort becomes a collective effort.
The perfect anti-cold hack for winter
Installing a door seal is the best winter trick. It’s simple. Fast. Surprisingly effective. This small daily intervention can be the first step towards a more fuel efficient and warmer home season after season.